
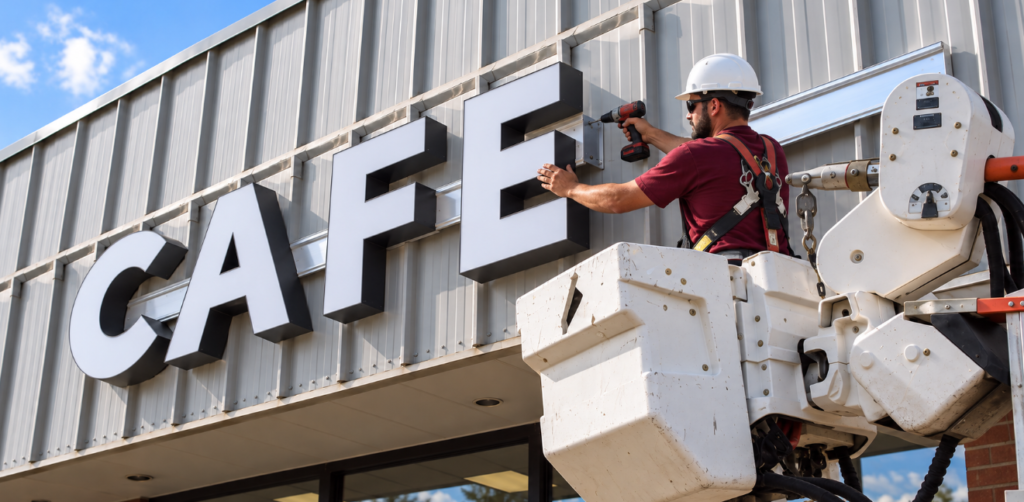
How to Install Face-Lit Channel Letters on a Raceway: The Complete Field Guide
To a client standing on the sidewalk, mounting channel letters looks as simple as hanging a picture frame on a wall.
They see clean, illuminated letters spelling out their business name, glowing brightly against the building facade.
Here is the reality: Hanging channel letters directly onto a wall requires drilling dozens of individual holes for mounting studs and high-voltage electrical conduits. If the wall is brick, stone, or historic masonry, that means permanent structural damage and a nightmare for future maintenance.
Enter the raceway.
A raceway is a heavy duty, weather sealed aluminum enclosure that acts as both the structural mounting spine and the central housing for transformers, power supplies, and wiring.
Instead of drilling 50 holes into the building facade, you pre assemble and wire the entire sign in the shop, then mount a single raceway onto the wall using just a handful of heavy duty anchors.
🧰 Installer Field Readiness Checklist
Check off your rig items before heading out:
Direct Mount vs. Raceway Mount: The Visual Breakdown
Before starting installation, understanding the structural impact on the building is critical.
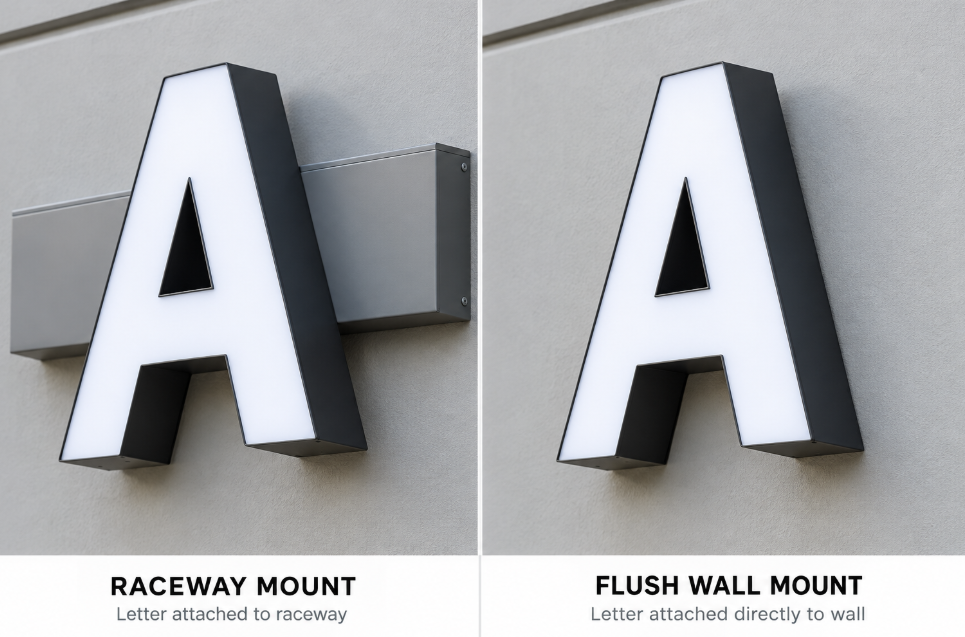
Raceway Mount Advantages:
- Wall Penetrations: Only 3 to 6 anchor holes into building.
- Install Speed: Pre-wired in shop; fast on-site crane lift.
- Maintenance: Power supplies accessible inside raceway channel.
- Ideal For: Brick, uneven stone, or strict landlord lease rules.
Shop Pre-Assembly: The Golden 90/10 Rule
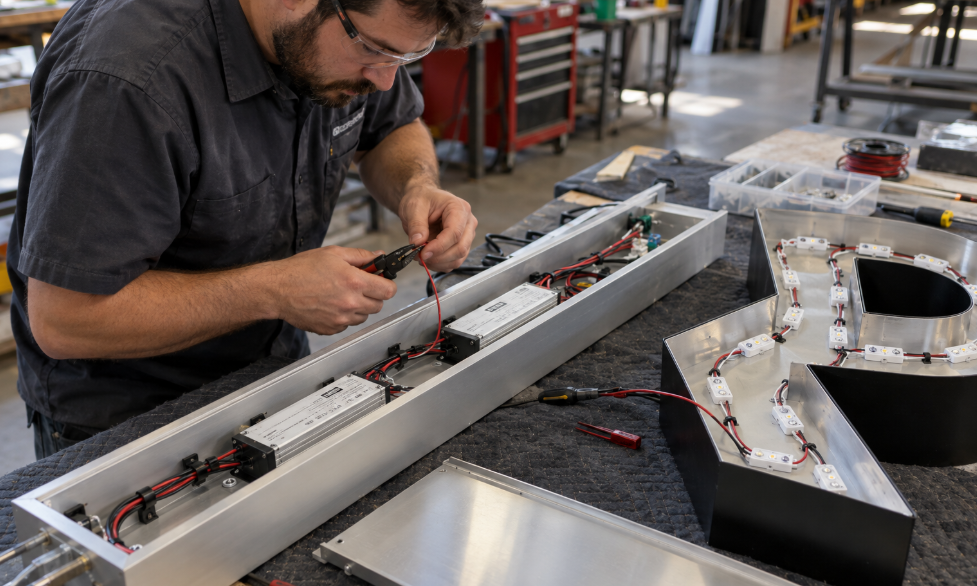
The golden rule of sign installation is simple: Do 90% of the work on the shop floor so you only spend 10% of your time up in the air.
Before loading the boom truck, the entire system is built and bench-tested in a controlled environment.
- Letter Alignment: Channel letters are aligned on the raceway using a 1:1 scale plotter pattern.
- Mechanical Fastening: Letters are secured using stainless steel sheet metal screws or heavy duty rivet nuts.
- LED Wiring: Low-voltage LED leads pass through rubber grommets into the raceway interior, connecting directly to UL-listed Class 2 power supplies.
- Bench Testing: The entire assembly is burn-in tested for 2 to 4 hours to verify current draw and check for bad solder joints.
Hoisting, Alignment, and Anchor Selection
When on site, hoist the raceway using a material lift or boom crane. Level the baseline using a laser level, then anchor into the substrate.
🔍 Anchor Selection Tool: What wall are you mounting to?
Electrical Hookup & Weather Sealing
- Primary Power: A licensed electrician routes primary 120V/277V service through the wall into the internal junction compartment.
- Safety Disconnect Switch: An external, weather-sealed toggle disconnect switch must be mounted on the raceway per NEC and UL requirements.
- The Golden Waterway Rule: Apply neutral-cure silicone generously across the top and side edges of the raceway where it meets the wall, but leave bottom weep holes 100% open so internal condensation drains freely.
💡 On-Site Labor Cost Savings Calculator
See how much field time raceways save compared to direct-mount jobs:
Est. Field Labor Savings: ~4.2 Hours Saved!
Comments (0)
No comments yet. Be the first to comment.